User Manual
This page includes user manuals for two applications:
-
LPhy Studio - the GUI for LPhy language
-
LPhyBEAST - a BEAST 2 package that takes a LPhy script and produces a BEAST 2 XML file.
This page will run through the basic setup for LPhy Studio and LPhyBEAST.
For more advanced options, please refer to the Advanced User Guide and LPhy Extensions pages. You can also visit our Tech Help page and FAQ section, where you can find helpful assistance and solutions to common issues. Additionally, you can learn more about the features of the LPhy language.
Java 17
LPhy requires Java 17. We recommend you install OpenJDK 17.
To check your Java version, use the command line in the terminal:
java -version
LPhy Studio installation
Download the LPhy Studio version for your operating system:
-
Linux lphy-studio-1.7.0.zip
All release versions of LPhy Studio are available on the LPhy releases page.
The default installation path
- Linux:
~/which is your home folder - Mac:
/Applications/ - Windows:
C:\Program Files\
Linux
For Linux, we recommend unzipping the lphy-studio-1.7.x.zip
file to your home directory.
By doing so, the launch script for LPhyBeast will automatically detect the library path $LPHY_LIB.
Alternatively, you have the option to manually assign the environment variable $LPHY_LIB
to the location where LPhy Studio is installed if you choose to install it in a different directory.
To launch LPhyStudio from the command line, use the following command, replacing “x” to the version number:
cd ~/lphy-studio-1.7.x/
./bin/lphystudio
Mac
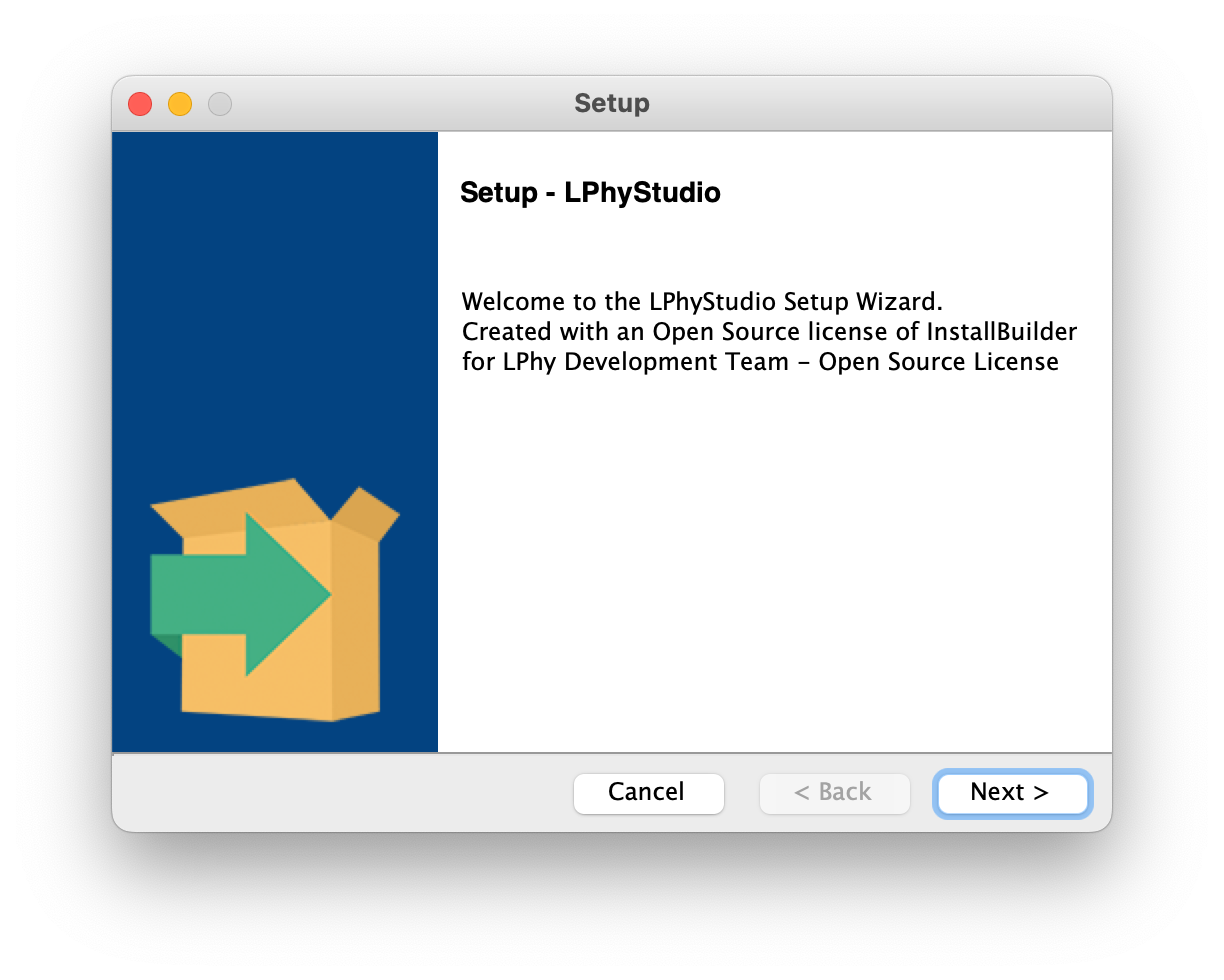
For Mac, an installer is available when you open the .dmg file. Double click it and follow the installation wizard to complete the install.
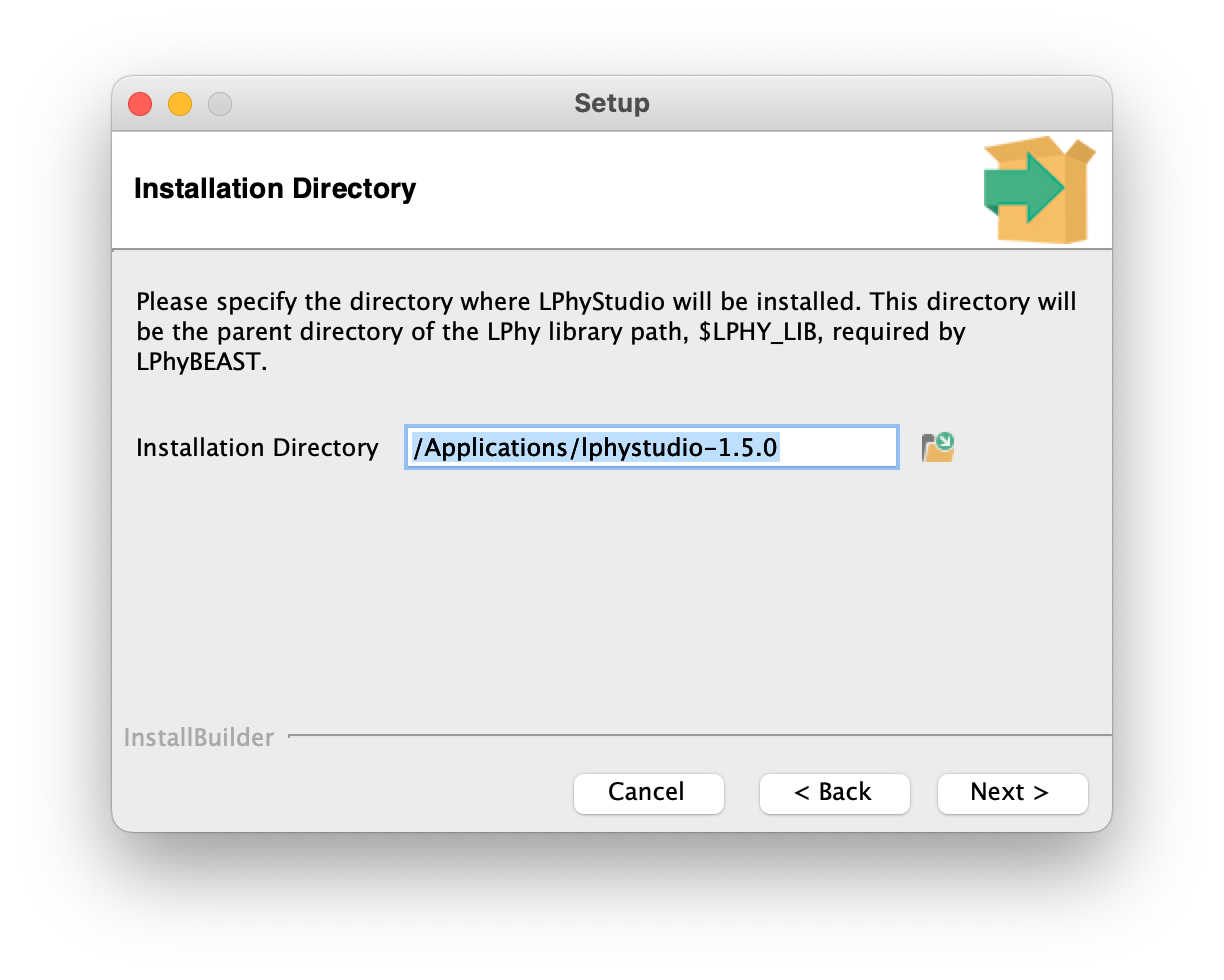
Please keep the default installation path,
such as /Applications/lphy-studio-1.7.x,
so that the launch script for LPhyBeast will automatically detect the library path $LPHY_LIB.
Windows
The process is same to the Mac installation. Please keep the default installation path. But if it shows “C:\Program Files (x86)”, we recommend to change to “C:\Program Files”.
Please note that “C:\Program Files” is usually a protected directory.
To avoid any permission issues while using programs that produce output files,
we recommend copying the “examples” and “tutorials” folders, along with the “data” folder,
into your “Documents” directory and working from there.
This will ensure that the programs (e.g., slphy and lphybeast) have the necessary write permissions
to create and overwrite files as needed.
Launching LPhy Studio
For Linux users, please refer to the Linux section.
For Mac and Windows users, to launch LPhy Studio,
click on LPhyStudioLauncher inside your LPhy install location.
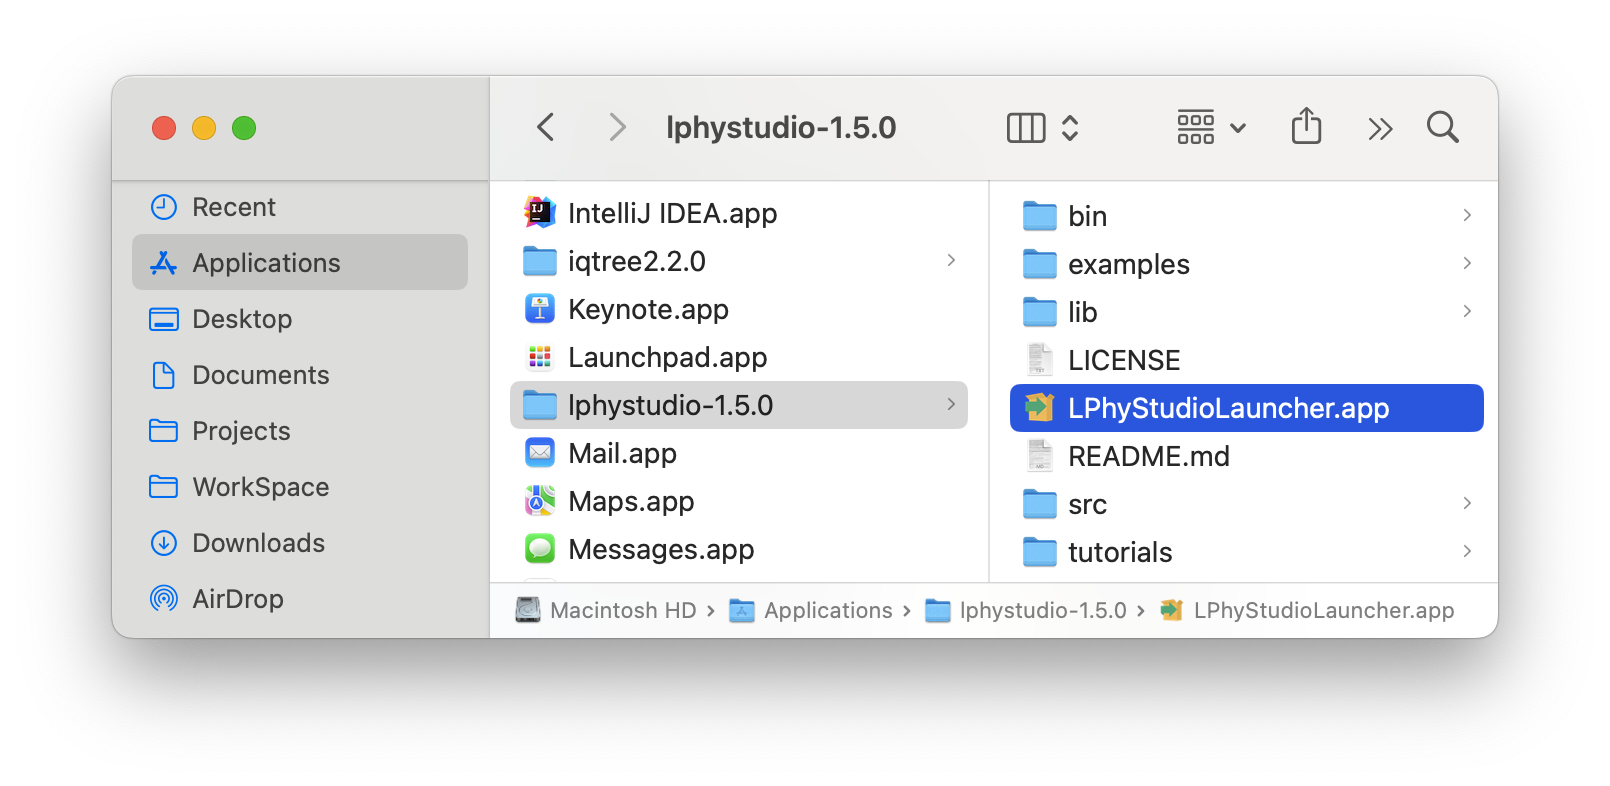
LPhy example scripts are in the examples and tutorials subdirectory,
and libraries are in the lib subdirectory of your LPhy install location.
If you are new to LPhy, we recommend starting with this introductory guide before moving to the tutorials.
SLPhy: simulate data via command line
SLPhy is an application to simulate data via command line given a file containing the LPhy script.
The bash script slphy
can be found in the bin directory.
For Windows, please use slphy.bat and copy the LPhy script with “data” to the “Documents” folder.
To run SLPhy, navigate to the folder containing the LPhy scripts and execute the following commands. Please ensure that you have the necessary write permissions in the working directory.
To simulate data at 5 replicates, after replacing $LPHY variable with your LPhy installation path.
cd $LPHY/examples/coalescent
$LPHY/bin/slphy -r 5 <LPhy script>
For example:
/Applications/lphy-studio-1.7.x/bin/slphy -r 5 hkyCoalescent.lphy
The “x” is the version number.
The simulation will produce alignment(s) and saved them into one or many “.nexus” files, and tree(s) into the “.trees” file and all random number values into the “*.log” file.
SLPhy supports Macro language to replace values in a lphy script by command line, and then the simulation is done using those new values:
cd $LPHY/examples/macro
YOUR_PATH/slphy -D "n=5;L=50" MacroLanguage.lphy
In the MacroLanguage.lphy, the L has a default value 100, and n has 10.
L = {{L = 100}};
taxa = taxa(names=1:{{n = 10}});
Given the command line argument -D "n=5;L=50",
the simulation will be done using 50 as the new value of L and 5 to the value of n.
LPhy extensions and installation
LPhy extensions can be installed following this guide. Current supported LPhy extensions are also listed on that page.
LPhyBEAST installation
LPhyBEAST and its extensions are BEAST 2 packages. It requires the latest version of BEAST 2 and LPhy.
Please install them following the instructions below:
-
To install LPhyBEAST core, start
BEAUtiand from the menu go toFile=>Manage Packagesto launchPackage Manager. More details are here -
Select
lphybeastfrom the packages list, then clickInstall/Upgradebutton to install. -
If you want to use the extended models, select
LPhyBeastExtfrom the list, then clickInstall/Upgradeto install.
Installation may take few minutes to download and install, including all dependent packages. Please wait until a confirmation popup appears on the screen.

- Restart
Package Manager. Now they and their dependent packages should appear as “installed”.
Alternatively, these BEAST 2 packages can be installed using command line.
The package lphybeast does not include LPhy, so we need to install LPhy separately.
You may skip steps 5-6 if you have already installed LPhyStudio in the default directory.
-
Download the LPhy Studio installer. See the section of LPhy Studio installation.
-
Install LPhy Studio to the default path. In addition, if you are using any LPhyBeast extensions except of
LPhyBeastExt, you need to have their LPhy extension ready. Please see listed extensions. -
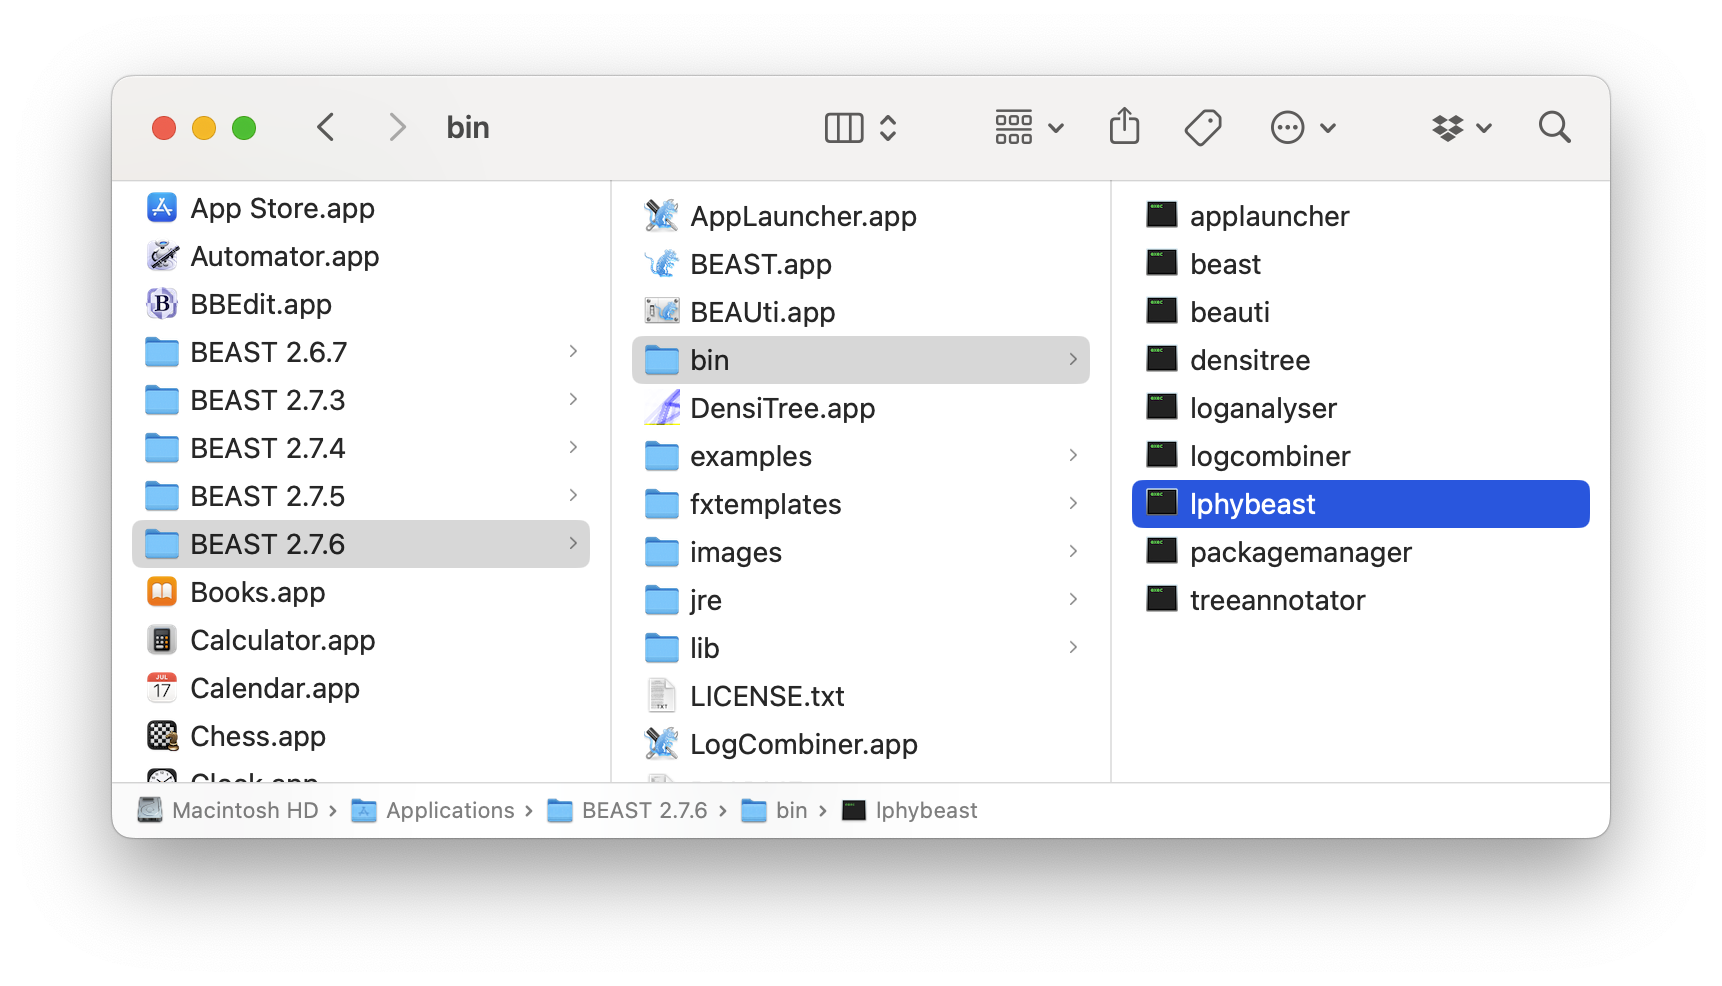
Download the latest version of the script below to launch LPhyBEAST. Right-click the corresponding link, and select “Download Linked File” from the context menu. Then, move
lphybeastinto thebinsubfolder of your BEAST 2 installation on macOS and Linux. For Windows, movelphybeast.batinto thebatsubfolder instead.- lphybeast, for Linux and Mac.
- lphybeast.bat, for Windows.
More versions are available in the release page.
Note that on macOS and Linux, you may need to give the lphybeast file executable permissions
using the chmod +x lphybeast command.
The final folder structure looks like:
LPhyBEAST usage
Now, we can use lphybeast to run LPhyBEAST from the terminal.
The $BEAST_PATH represents the installation path of BEAST 2,
and $LPHY_PATH represents the installation path of LPhy.
For Windows, please use $BEAST_PATH/bin/lphybeast.bat instead of $BEAST_PATH\bat\lphybeast,
and also copy the LPhy script with “data” to the “Documents” folder.
$BEAST_PATH/bin/lphybeast -h
We recommend to navigate to the folder containing the LPhy scripts and run LPhyBEAST. The following commands will create “RSV2.xml” from the tutorial script RSV2.lphy. Please ensure that you have the necessary write permissions in the working directory.
cd $LPHY_PATH/tutorials/
$BEAST_PATH/bin/lphybeast RSV2.lphy
The lphybeast script will generate the “RSV2.xml” file based on the model and parameters
specified in the “RSV2.lphy” script.
Additionally, the alignment is imported from a Nexus file “RSV2.nex”
located in the “data” subfolder.
LPhyBEAST can be used to simulate alignments from the given model.
The following command will create 5 XMLs,
and each XML will contain a different simulated alignment at each replicate,
where the -r option specifies the number of replicates.
cd $LPHY_PATH/examples/coalescent/
$BEAST_PATH/bin/lphybeast -r 5 hkyCoalescent.lphy
Legacy dependencies
There are significant changes about SPI and APIs among LPhy 1.4.x, 1.5.x, and 1.6.x (where x >= 0). So there is no backward compatibility for extensions. If you want to use the old version extensions, please install the required versions of LPhy and LPhyBEAST.
- LPhyBEAST v1.3.x requires LPhy 1.7.x;
- LPhyBEAST v1.2.x requires LPhy 1.6.x;
- LPhyBEAST v1.1.x requires LPhy 1.5.x;
- LPhyBEAST v1.0.x requires LPhy 1.4.x;
- LPhyBEASTExt 1.0.x requires LPhyBEAST v1.2.x;
- LPhyBEASTExt 0.3.x requires LPhyBEAST v1.1.x;
- LPhyBEASTExt 0.2.x requires LPhyBEAST v1.0.x;
- Phylonco-lphy 1.2.x (LPhy extension) requires LPhy 1.6.x;
- Phylonco-lphybeast 1.2.x requires LPhyBEAST v1.2.x, and Phylonco-lphy 1.2.x;
- Phylonco-lphy 0.0.3 (LPhy extension) requires LPhy 1.4.x;
- Phylonco-lphybeast 1.0.x requires LPhyBEAST v1.0.x, and Phylonco-lphy 0.0.3;
Troubleshooting guide
LPhyBEAST failed with “NoClassDefFoundError: phylonco.lphy.evolution.datatype.PhasedGenotype”
The error message looks like:
Registering extension from phylonco.lphybeast.spi.LBPhylonco
java.lang.reflect.InvocationTargetException
	at java.base/jdk.internal.reflect.NativeMethodAccessorImpl.invoke0(Native Method)
	at java.base/jdk.internal.reflect.NativeMethodAccessorImpl.invoke(Unknown Source)
	at java.base/jdk.internal.reflect.DelegatingMethodAccessorImpl.invoke(Unknown Source)
	at java.base/java.lang.reflect.Method.invoke(Unknown Source)
	at beastfx.app.tools.AppLauncher.runAppFromCMD(Unknown Source)
	at beastfx.app.tools.AppLauncher.main(Unknown Source)
	at java.base/jdk.internal.reflect.NativeMethodAccessorImpl.invoke0(Native Method)
	at java.base/jdk.internal.reflect.NativeMethodAccessorImpl.invoke(Unknown Source)
	at java.base/jdk.internal.reflect.DelegatingMethodAccessorImpl.invoke(Unknown Source)
	at java.base/java.lang.reflect.Method.invoke(Unknown Source)
	at beast.pkgmgmt.launcher.BeastLauncher.run(Unknown Source)
	at beast.pkgmgmt.launcher.AppLauncherLauncher.main(Unknown Source)
Caused by: java.lang.NoClassDefFoundError: phylonco.lphy.evolution.datatype.PhasedGenotype
	at beast.pkgmgmt.MultiParentURLClassLoader.loadClass(Unknown Source)
...
Follow one the solutions below.
Solution A: My LPhy script does not contain any phylonco functions
- Open Beauti, go to package manager, and uninstall
phylonco.lphybeast.
Solution B: My LPhy script uses one or more phylonco functions
- Open Beauti, got to package manager, and install/upgrade
phylonco. - Open Beauti, got to package manager, and install/upgrade
phylonco.lphybeast. - Go to the LPhy Extensions page. Choose the phylonco-lphy extension corresponding to your current LPhy version (when more than one phylonco-lphy is available for your LPhy version, select the phylonco-lphy that has the highest version number).
- Follow the steps in the Manual installation section.
LPhyBEAST failed with “java.lang.NoClassDefFoundError: *.lphy.*.AClass”
This error indicates LPhyBEAST cannot find the LPhy class AClass.
First, please check if your LPHY_LIB is pointed to the correct location,
which will be printed in the output message, for example,
LPHY_LIB = /home/user/lphy-studio-1.6.0/lib
If it is not correct, make you install LPhy in the default directory. Please read the LPhy installation section.
If AClass is from a LPhy extension, then check if you put the LPhy extension jar into the lib folder.
If all of these checks have passed, you can then verify that the dependencies are correctly configured. Some extensions are only working with their required major versions of LPhy or LPhyBEAST. Please see legacy dependencies
IOException: Cannot find Nexus file !
In most cases, the issues arise from inconsistent relative paths between
the input file and the data inside the LPhy script, such as D = readNexus(file="data/RSV2.nex");.
It lead to an incorrect location for the Nexus file,
when the working directory is not the parent directory of the subfolder “data”.
One simple solution to address this issue is to use the absolute path.
For more details, please refer to the Advanced User Guide.
Alternatively, check if you copy the data with the script file together to the target location.
The error message look like this:
SEVERE: java.io.IOException: Cannot find Nexus file ! .../data/RSV2.nex, user.dir = ...
	at lphy.evolution.io.NexusParser.getReader(NexusParser.java:85)
	at lphy.evolution.io.NexusParser.<init>(NexusParser.java:64)
	at lphy.core.functions.ReadNexus.apply(ReadNexus.java:66)
	at lphy.graphicalModel.DeterministicFunction.generate(DeterministicFunction.java:8)
	at lphy.parser.SimulatorListenerImpl$SimulatorASTVisitor.visitMethodCall(SimulatorListenerImpl.java:856)
LPhyBEAST failed with LPhyBeastExt not installed
If you are using Mascot (e.g. structured coalescent), you need to install the LPhyBeastExt package.
The error message “Please ensure you have installed the required …” indicates missing BEAST2 packages necessary for the analysis.
Cannot find the mapping for given LPhy code to BEAST2 classes!
Input file = h3n2.lphy
Please ensure you have installed the required LPhyBEAST extensions and BEAST2 packages :

Unhandled generator in generatorToBEAST(): class lphy.evolution.coalescent.StructuredCoalescent
	at lphybeast.LPhyBeastCMD.call(LPhyBeastCMD.java:135)
	at lphybeast.LPhyBeastCMD.call(LPhyBeastCMD.java:13)
	at picocli.CommandLine.executeUserObject(CommandLine.java:2041)
	at picocli.CommandLine.access$1500(CommandLine.java:148)
	at picocli.CommandLine$RunLast.executeUserObjectOfLastSubcommandWithSameParent(CommandLine.java:2461)
	at picocli.CommandLine$RunLast.handle(CommandLine.java:2453)
	at picocli.CommandLine$RunLast.handle(CommandLine.java:2415)
	at picocli.CommandLine$AbstractParseResultHandler.execute(CommandLine.java:2273)
	at picocli.CommandLine$RunLast.execute(CommandLine.java:2417)
	at picocli.CommandLine.execute(CommandLine.java:2170)
	at lphybeast.LPhyBeastCMD.main(LPhyBeastCMD.java:89)
LPhyBEAST failed by an improper installation
If the LPhy library folder is not in a correct path, you will see the following exceptions:
java.lang.NoClassDefFoundError: lphy/core/LPhyParser
	at java.base/java.lang.Class.getDeclaredMethods0(Native Method)
	at java.base/java.lang.Class.privateGetDeclaredMethods(Class.java:3334)
	at java.base/java.lang.Class.getMethodsRecursive(Class.java:3475)
	at java.base/java.lang.Class.getMethod0(Class.java:3461)
	at java.base/java.lang.Class.getMethod(Class.java:2193)
	at beast.app.tools.AppLauncher.runAppFromCMD(Unknown Source)
	at beast.app.tools.AppLauncher.main(Unknown Source)
...
Caused by: java.lang.ClassNotFoundException: lphy.core.LPhyParser
	at java.base/java.net.URLClassLoader.findClass(URLClassLoader.java:433)
	at java.base/java.lang.ClassLoader.loadClass(ClassLoader.java:586)
	at java.base/java.lang.ClassLoader.loadClass(ClassLoader.java:519)
	... 13 more
SLPhy or LPhyBEAST failed by “Access is denied”
On Windows system, “C:\Program Files” is usually a protected directory. For example,
cd "C:\Program Files\lphystudio-1.4.3\tutorials"
"C:\Program Files\lphystudio-1.4.3\bin\slphy" h5n1.lphy
If you are working within a directory without write permissions, the program may encounter an error message like this:
java.io.FileNotFoundException: h5n1_D_0.nexus (Access is denied)
        at java.base/java.io.FileOutputStream.open0(Native Method)
        at java.base/java.io.FileOutputStream.open(FileOutputStream.java:293)
        at java.base/java.io.FileOutputStream.<init>(FileOutputStream.java:235)
        at java.base/java.io.FileOutputStream.<init>(FileOutputStream.java:184)
        at java.base/java.io.PrintStream.<init>(PrintStream.java:332)
        at lphy@1.4.3/lphy.graphicalModel.logger.AlignmentFileLogger.logAlignment(AlignmentFileLogger.java:83)
        at lphy@1.4.3/lphy.graphicalModel.logger.AlignmentFileLogger.log(AlignmentFileLogger.java:38)
        at lphy@1.4.3/lphy.core.Sampler.sample(Sampler.java:51)
        at lphystudio@1.4.3/lphystudio.app.simulator.SLPhy.call(SLPhy.java:113)
        at lphystudio@1.4.3/lphystudio.app.simulator.SLPhy.call(SLPhy.java:32)
The simple solution is to copy the “examples” and “tutorials” folders with “data” into your “Documents” folder, and work in that location to avoid any permission issues.
LPhyBEAST failed by Java version
If the lphybeast -h failed with the following error message about Java version:
java.lang.UnsupportedClassVersionError:
lphybeast/LPhyBEAST has been compiled by a more recent version
of the Java Runtime (class file version 61.0), this version of
the Java Runtime only recognizes class file versions up to 52.0
	at java.lang.ClassLoader.defineClass1(Native Method)
	at java.lang.ClassLoader.defineClass(ClassLoader.java:763)
	at java.security.SecureClassLoader.defineClass(SecureClassLoader.java:142)
	at java.net.URLClassLoader.defineClass(URLClassLoader.java:468)
The script lphybeast utilizes the BEAST 2 applauncher to run the LPhyBEAST application, which requires Zulu 17 with JavaFX bundled in BEAST 2.7.x. More details are available in beast2.org.
LPhyBEAST failed with java.lang.ClassNotFoundException
If the $BEAST environment variable is not set correctly, the following error message might occur:
Error: Could not find or load main class beast.pkgmgmt.launcher.AppLauncherLauncher
Caused by: java.lang.ClassNotFoundException: beast.pkgmgmt.launcher.AppLauncherLauncher
The $BEAST environment variable should point to the directory where BEAST 2 is installed (e.g. /Applications/BEAST 2.7.7 on MacOS).